Responses
Pre-defined responses (accessed through the 'Responses' link under 'Ticket Settings' in the Admin navigation) can be inserted into tickets by staff members, or automatically using macros. They can also be used as signatures at the bottom of your outbound e-mails.
On the responses page, you will see that there are two separate sections - Global Responses, and Restricted Responses. When you create or edit a response, you can decide whether it's available to all departments for use, or restricted to just a few, and it will then be sorted into the relevant section.

To add a new response, click the green button labelled 'Add New Response'. In the screen that pops up, enter a name for the response, to allow it to be identified easily, type in the text you want to include, and decide which departments you want to have access to it (by unchecking 'Global Access?', a list of all your departments will appear and you can select the appropriate ones).
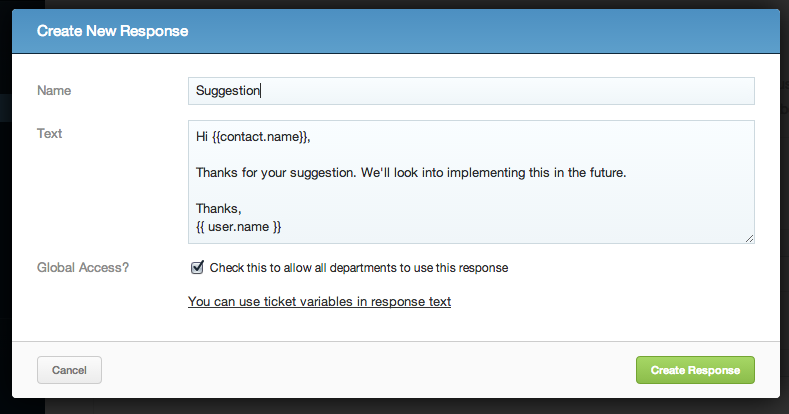
You are also able to use ticket variables in your response, either to just personalise it slightly, or to include data relevant to the customer's query. By clicking the link 'You can use ticket variables in response text', a box containing available variables will appear, and you can pick what data you would like to include in your response by typing in the code for the relevant variable. To finish and save your new response, click 'Create Response'.
To edit a response, either click its name or the pencil icon. When doing this, you can also see the replacement text you would use to place this response into a macro - as an automatic ticket reply, for example.

To delete a response, click the red 'X' on the right. Make sure to check any macros using that response, as where the replacement text used to place the response will just be blank.