Filters
Staff ticket filters allow you to only view tickets which match certain conditions - pre-defined searches which can be accessed by your support staff. They can be found under the 'Ticket Settings' section of the Admin navigation.
Sirportly comes with four filters already created - you can keep, edit or delete these as you wish, but bear in mind that in order to view tickets in the Tickets Interface, you'll need to have at least one filter. For more information about these default filters, have a look at the documentation on the ticket list.
Creating a New Filter
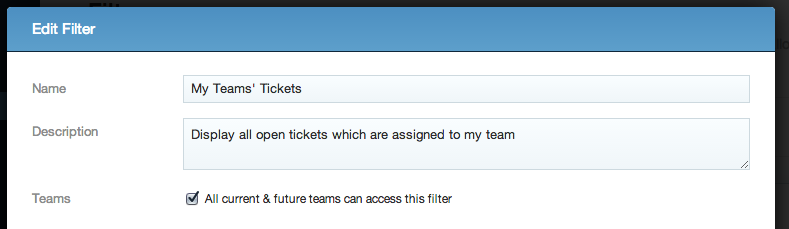
To add a new filter, click the green button labelled 'Add New Filter'. Basic details for the filter can be added first - its name, a brief description explaining what types of ticket this filter will show, and which teams you want to be able to see it.
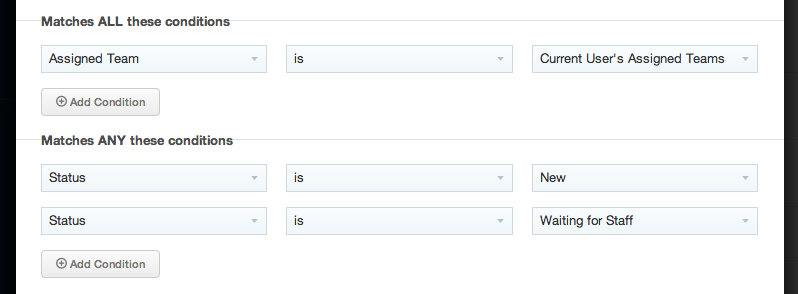
In the next two sections, you can select the conditions you'd like the tickets in your filter to match. Filters can be applied to every aspect of a ticket to create views as precise as needed.
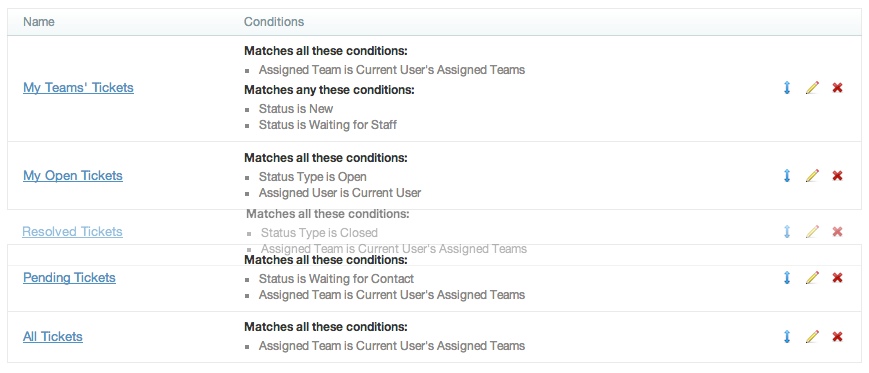
Filter Conditions
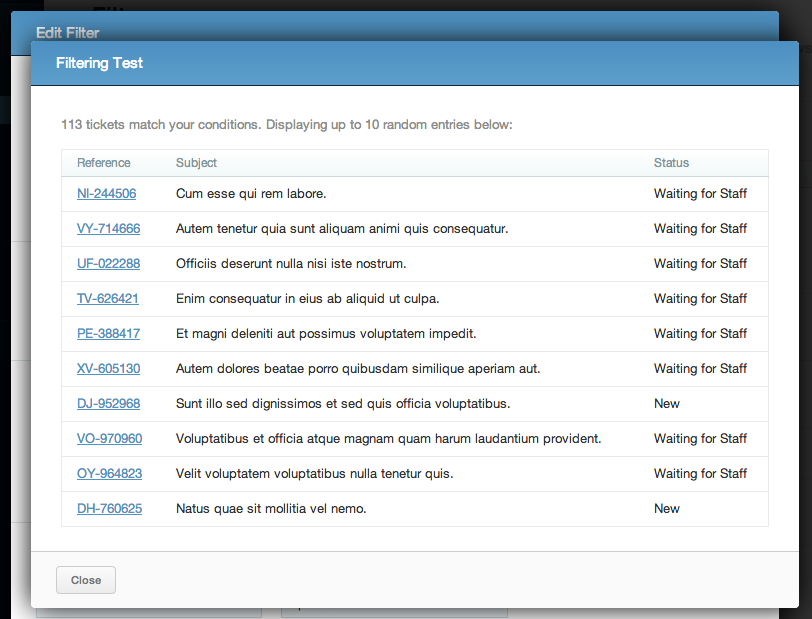
After you've added the conditions you want, you can click the 'Test Conditions' button at the bottom, which will show up a list of tickets which match the conditions you've added, so you can check your filter is working how you'd like.
Columns to Show
'Columns to show' allows you to choose which aspects of the ticket will be displayed in columns in that filter.
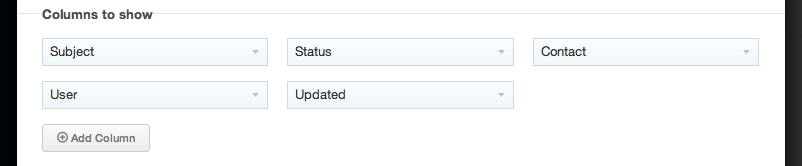
For example, in the 'My Teams' Tickets' filter, the columns shown are Status, Details, Customer, Priority and Date Updated.

Filter Sorting
Finally, you can choose how you'd like the tickets to be sorted - choose a field, and whether you'd like it to be ascending or descending. Then click 'Create Filter', and your new filter will appear in the list.

Rearranging Filters
The order in which filters appear in the Tickets Interface can be changed extremely easily - just click and hold the double-ended blue arrow of the filter you'd like to move, drag it to the position you'd like it, and release.
Editing & Deleting Filters
To edit a filter, click either its name or the pencil icon on the right. When you've made all your changes, click 'Update Filter'.
To delete a filter, click the red 'X' on the right. Remember that you need to have at least one filter to be able to view tickets at all, and that once you've deleted a filter, if you decide you want it back, you'll have to create it from scratch.