Custom Fields
Custom fields allow you to capture additional information from your customers when tickets are submitted using support centres, remote forms, public interfaces or through the API. They can either be used across your whole company, or linked to individual departments.
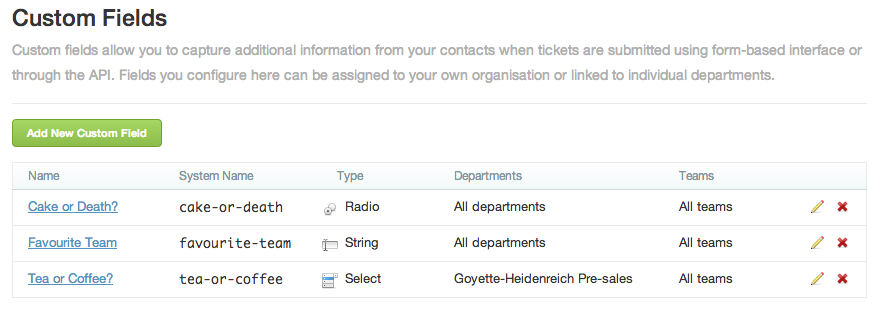
The Custom Fields screen is the third link under 'Workflow' in the Admin navigation. It will display a list of all your custom fields, organised alphabetically according to their name, as well as showing their system name, type, and the departments whose tickets they apply to, for easy reference. Custom fields can be edited or deleted by clicking the pencil icon or the red 'X' respectively. If you delete a custom field, the information which was submitted through it with any tickets will also be deleted.
To add a new custom field, click the green button labelled 'Add New Custom Field'. Enter a name for the field - this will be displayed in your list, and will also appear in your public interfaces and remote forms. The system name you choose will be used for accessing the field from forms, and also from the API.
Next, choose the type of field you require; you can choose between Text/String, Text (multi-line), Select, Password, Radio Buttons & Checkbox. (Values for radio buttons and drop-down select will be entered a few fields further down).
Enter a description for your field - as the number of custom fields you have grows, sometimes with very similar names, it's useful to have a proper explanation of the purpose of the field.
Optionally, you can now enter a default value for the field - leaving it blank will just mean that the field is empty by default.
The 'Values' field can be ignored if you have selected a type other than radio buttons or select - if you have chosen one of those two, in this box you will need to enter all the options for your field, one on each line.
Finally, choose which departments request this field when having tickets submitted to them - you can pick as many or as few as you want. To finish creating your custom field and save it, click 'Save Custom Field'. It will now appear in the list in its alphabetical position.
