Forwarding from Gmail
If your customer support emails go to a regular Gmail inbox, you should follow these instructions to get the messages into your Sirportly account.
If you are a Google Apps for Business user, Google restricts the character set you can use for mail routing from the admin panel, so you must set up a forwarding address on an individual inbox.
Sirportly
- From the Admin Dashboard select "Ticket Submission" on the left, followed by "E-mail Routing"
- Click "Add new address"
- Enter the email address of the mailbox you'll be forwarding from, ensure that forwarding is checked and click continue.
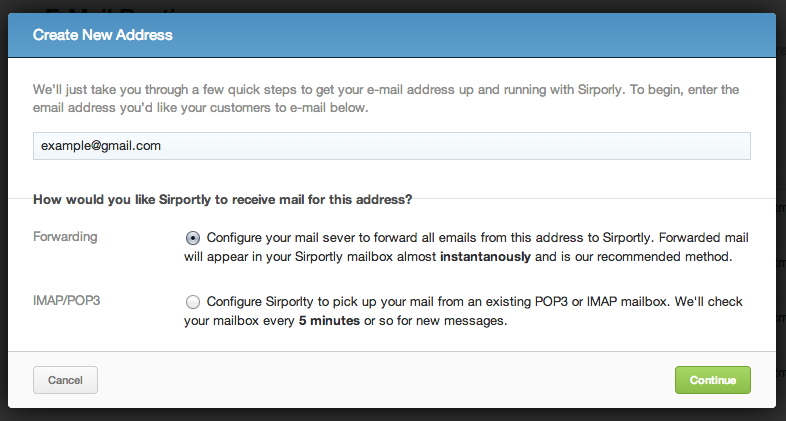
- The next page has instructions for forwarding mail from Gmail. Make a note of the e-mail address listed in Step 3.
Gmail
- Head to your Gmail Account in a new window then select "Settings" from the configuration menu.
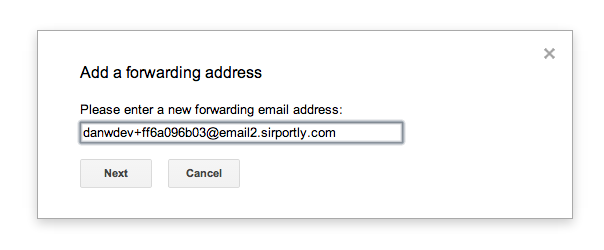
- Select the "Forwarding and POP/IMAP" settings tab and click "Add a forwarding address", then paste the in the e-mail address from Step 3 in Sirportly. Click "Next" and confirm the by clicking "Proceed" on the next page.
- Dismiss the confirmation message and head back to Sirportly.
Sirportly
- Once we receive the confirmation e-mail from Gmail we'll display a confirmation code in Step 5. When it arrives, copy this code onto your clipboard.

Gmail
- Now head back to Gmail and paste your code into the verification box and click "Verify"

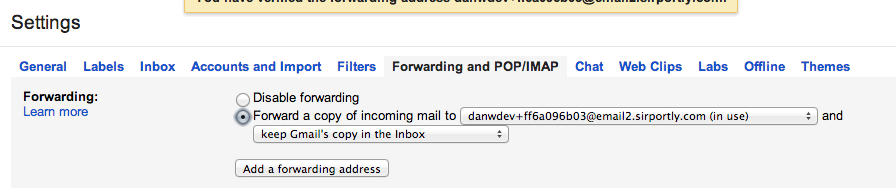
- Mail forwarding will still be disabled in Gmail be default, so ensure you check the "Forward a copy of incoming mail to..." box and then "Save Changes"
Sirportly
- Head back to Sirportly and click "Continue"
- Next, setup how you'd like incoming and outgoing e-mail to be handled in Sirportly from this mail address. More details about these fields can be found in E-Mail Routing.
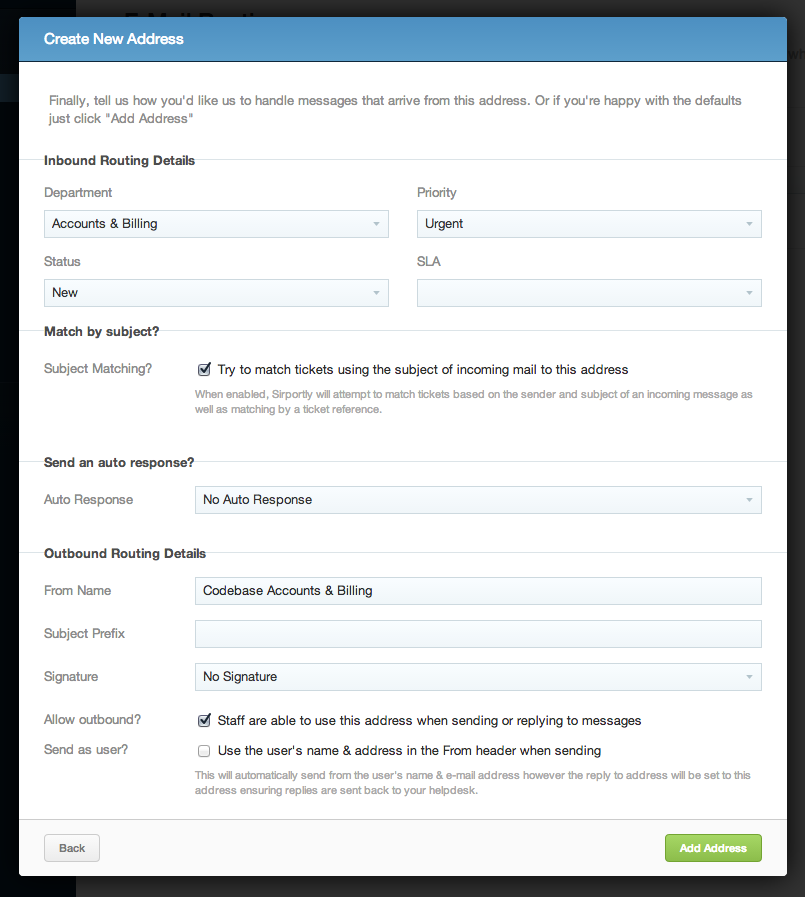
- Click "Add Address" and Sirportly will be accepting e-mail forwarded from that address.