Support Centres
Support Centres provide you with a great public-facing support site for interactive with your customers. From a Support Centre you can keep your customers updated with your latest news, provide helpful support articles and provide downloads to your customers.
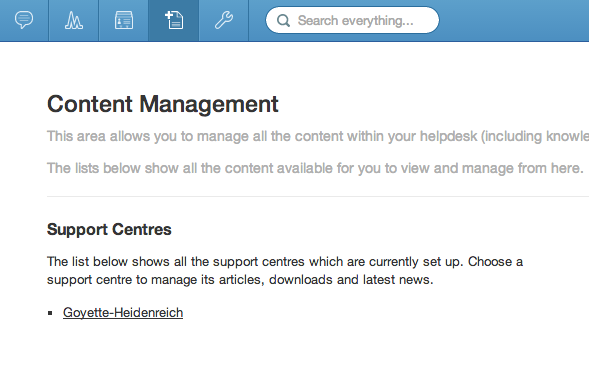
Once you've set up a Support Centre in the admin area you can start adding content to it. Navigate to the content area and select the Support Centre you wish to work on.

Support Articles
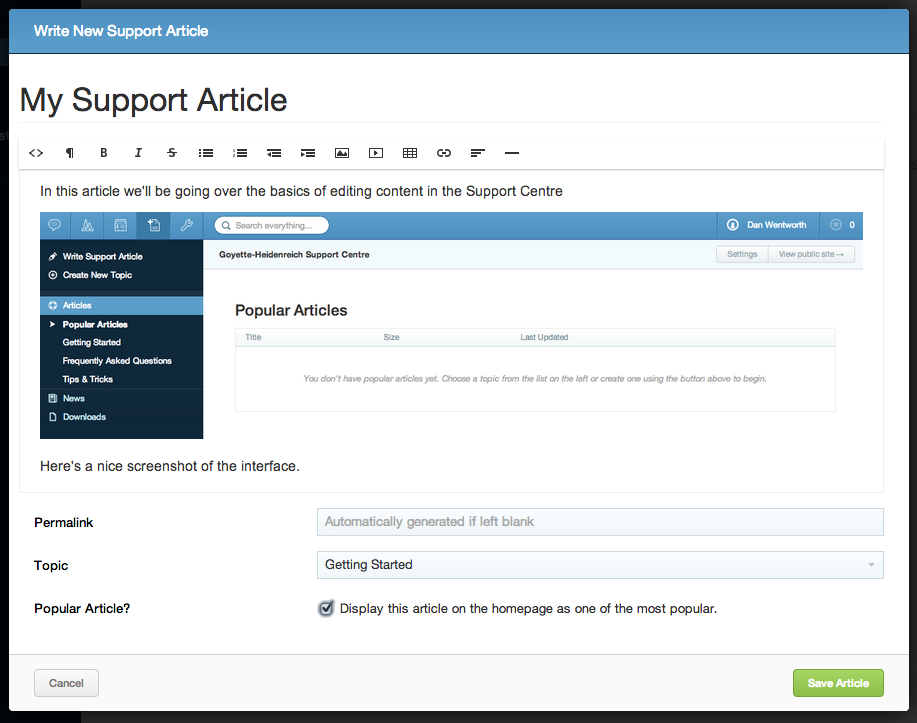
When you first open the Support Centre you'll be shown your popular articles on the right, and your article topics on the left. Your article needs to belong to a topic, we've set up 3 by default, "Getting Started", "Frequently Asked Questions" and "Tips & Tricks". To create an additional topic just click "Create New Topic" in the top left. If you wish to reorder your topics, simply click and drag them in the navigation bar.

To write a new article, click the "Write Support Article" link in the top-left. The article editor will appear, enter a title for your post and write the content for your article in the rich text editor. You can also upload images for use in your article by either dragging the file into the editor, or by clicking the Image icon in the toolbar and selecting the file.
Optionally, you can choose your own permalink for the article (by default one will be generated from the title), select the topic your article will go into, and choose whether this article will be displayed in your list of popular articles.

To edit an existing article, just click on it's title in the articles list.

News Articles
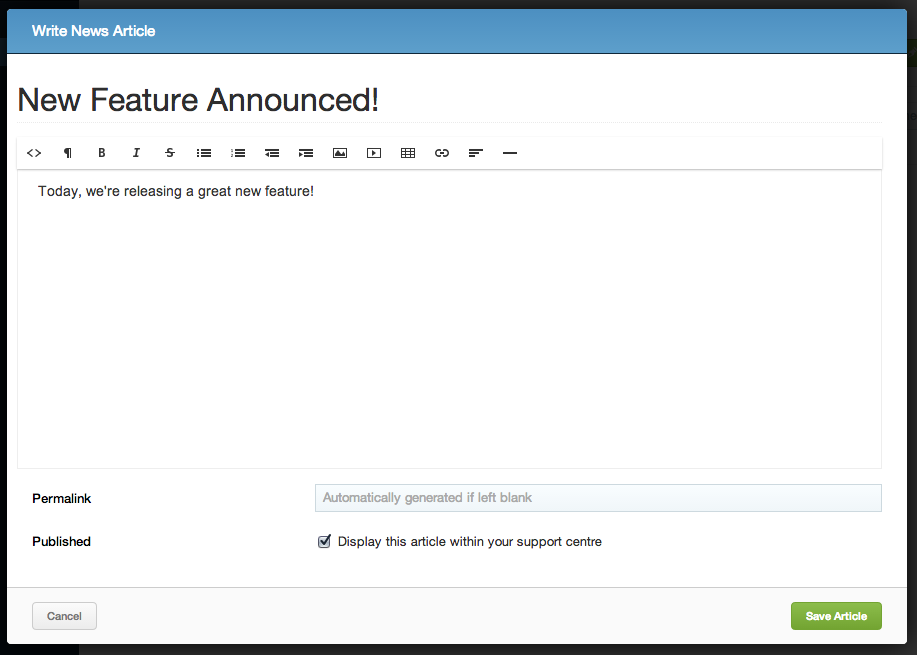
Creating a news article is exactly the same as creating a normal support article, except that you do not need to specify a category, and you may produce drafts of news articles by unchecking the "Published?" box when creating it.

Downloads
Downloads gives you a place to add files that will be available to your customers to download.
Similar to articles, downloads must be organised into categories. We create 3 for you by default, "Documentation", "Software" and "Utilities". To create a new category, just use the link in the top left.
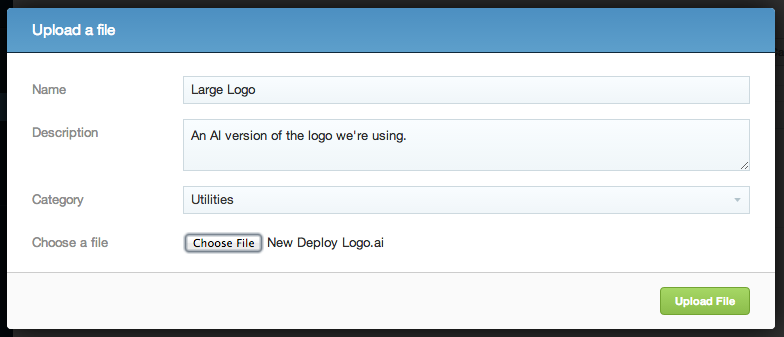
To add a file to one of these categories click the "Upload New File" link in the top left. From here you'll be able to give your file a name and a description and pick which category the file belongs to. Click the "Choose File" button to browse for the file that you wish to host. Click "Upload File" and it will be ready for download in your support centre.
