E-Mail Templates
E-mail templates allow you to style any outgoing e-mails sent directly by staff members (auto-responses and e-mails sent through macros will not use these templates). Each of your brands has to be assigned a template, and all e-mails sent by staff from any departments within that brand will conform to that template.
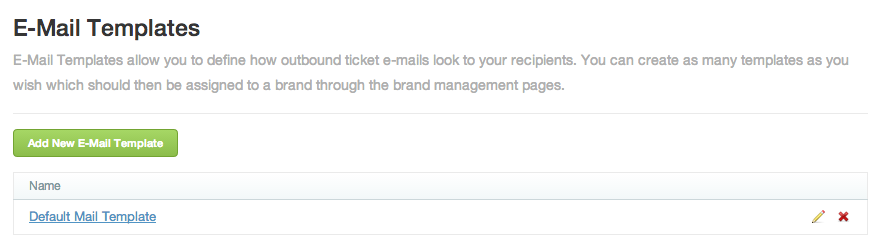
First, go to the E-Mail Templates link in the admin navigation (under 'Ticket Submission'). You'll see that there's a default template there already, assigned to all your brands. You can edit this, or, after you've created new templates and reassigned your brands, delete it altogether.
History
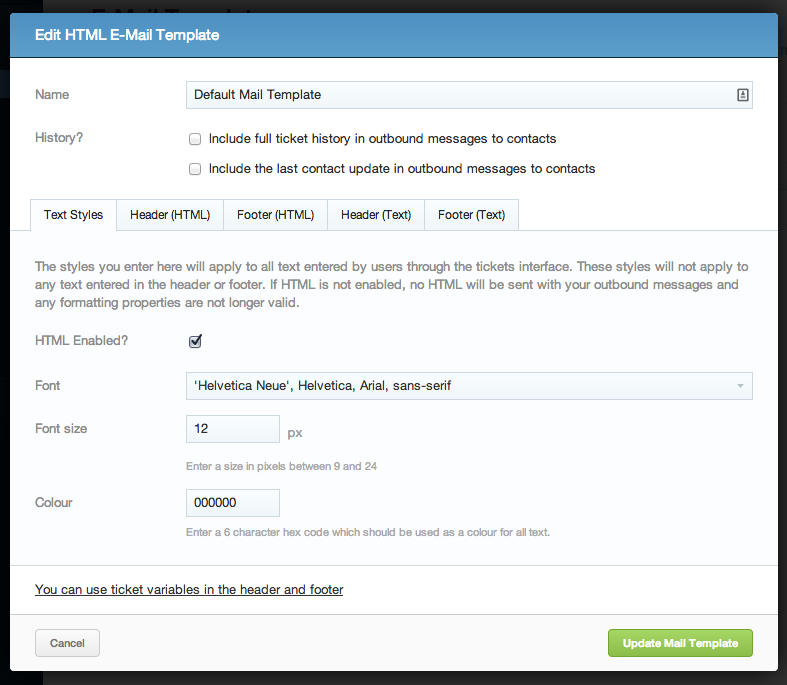
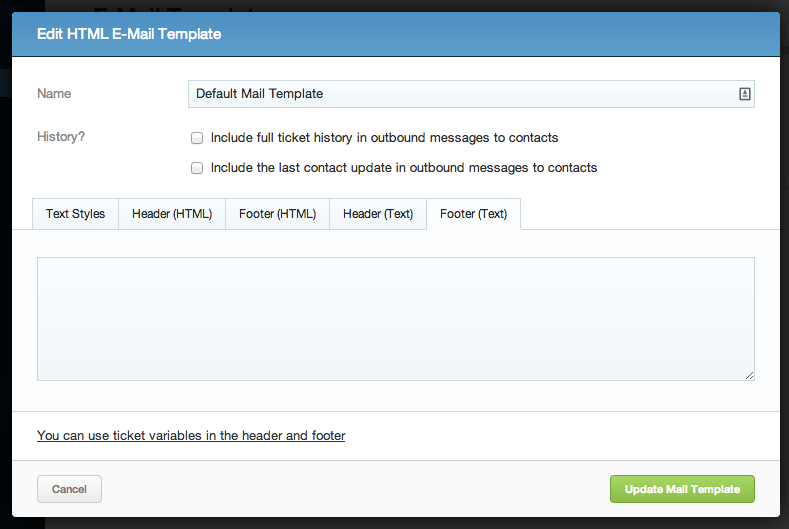
There are two checkboxes which control if ticket history is included with any replies. Include full ticket history in outbound messages to contacts will include the complete history of the ticket, whereas Include the last contact update in outbound messages to contacts only includes the most recent update.
If you don't wish to have any history included with your replies, leave both checkboxes empty.
Styling
To create a new e-mail template, click the green button labelled 'Add New E-Mail Template' and name your template in the box which appears. You will see five tabs; the first tab firstly allows you to decide whether or not you want HTML to be enabled in your outbound e-mails (if you choose to disable it, any of the formatting you've added will no longer apply), and also allows you to alter the appearance of the e-mail's main body text (i.e. everything your staff members enter in the reply box). You can choose a font family (serif or sans-serif), a font size, and a colour for the text.
Header
The Header (HTML) tab is where you'll enter all the HTML required before the body text. Like in pre-defined responses, you can use ticket variables to provide relevant information.
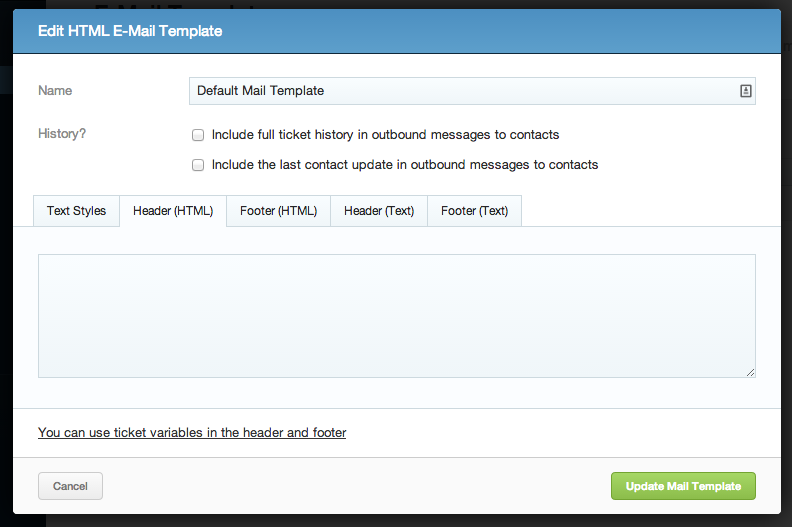
The Header (Text) tab should be the plain text version of the Header (HTML) tab, for customers whose e-mail clients don't support HTML e-mails.
Footer
The Footer (HTML) tab is the same, except the HTML entered within it obviously goes after the body text, rather than before. When creating your HTML template, the best idea is to create as one document, and then simply split it into two sections at the point where the content would be.
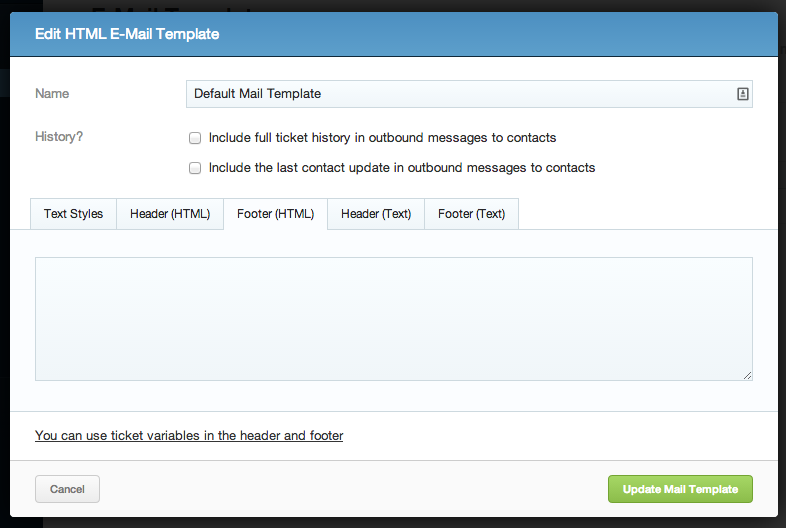
The Footer (Text) tab should be the plain text version of the Footer (HTML) tab.
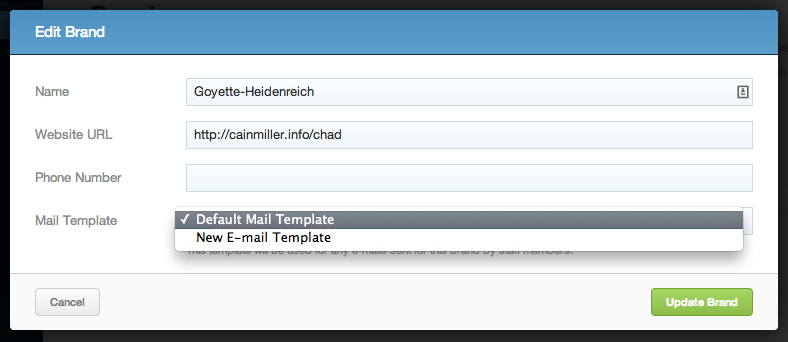
Applying templates to a brand
Click 'Save E-Mail Template' and you're done! You'll now need to go back to the Brands screen and reassign the relevant brands to your new template:
Editing and Deleting
To edit a template, simply click either its name, or the pencil icon on the right hand side. To delete one, click the red 'X' next to the pencil. You won't be able to delete a template if there are brands currently using it - you will have to assign a different template to them first.